
- Training
- Service
- Promotion
- Schedule
- Testing Center
- News
- Contact
11/20/2019


Below is the list of the options which you can use in Excel’s Mobile App:
1. Pre-Made Templates to Capture Data
1. Pre-Made Templates to Capture Data
Just like Excel’s desktop app, you have pre-made templates which you can use to track your data straight from your smart phone.
There are more than 10 templates which you can use and open with a single touch.
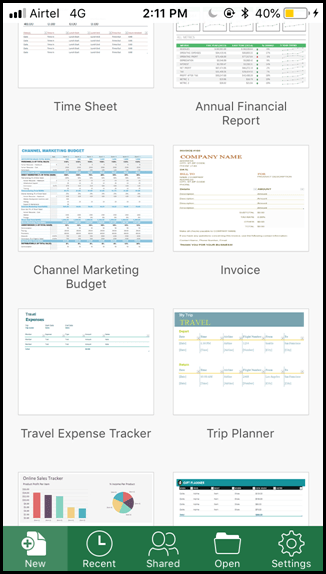
And after that you can save a template in your smart phone, in OneDrive, or send it to someone in a email.
2. Double Touch to Edit
In Excel’s desktop app, you need to double click to edit a cell…
…and in the mobile app, you need a double touch to edit a cell.
Once you double touch on a cell your keyboard will get activated. You can enter data with by simply typing or you can enter a function by typing “=” sign.
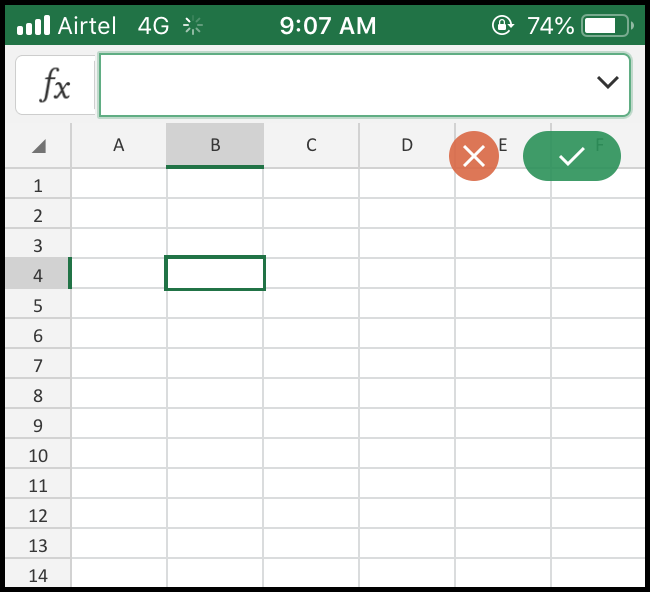
And once you are done with editing a cell touch the “OK” button from the top right side of the screen…
…or, if you want to cancel editing touch the cancel button.
3. Search for an Option
You can simply search for the option from the search bar.
Now here's the best thing:
Let’s say you are searching for the option “Bold”…
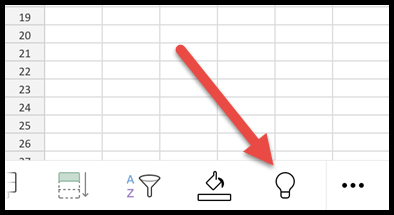
…and when you select the search result it will not navigate you to the option but…
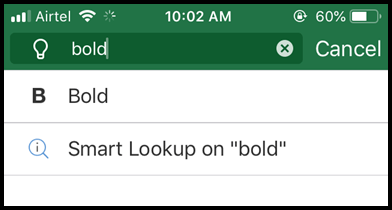
…apply the bold font style to the selected cell.
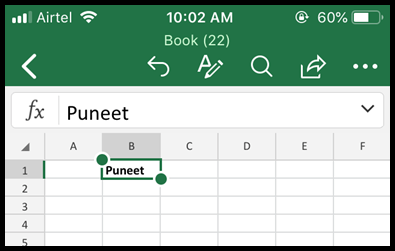
Steps:
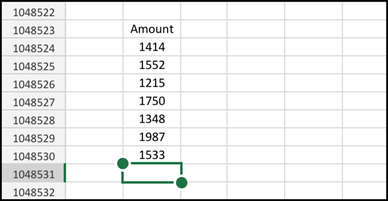
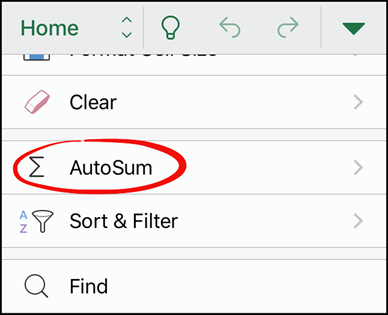
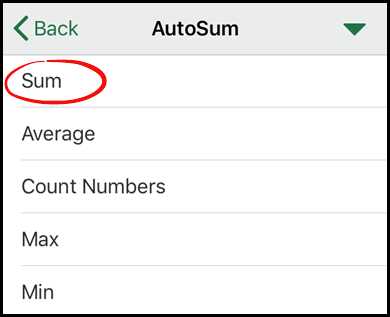
This will add the SUM formula to the selected cell for the values above it.
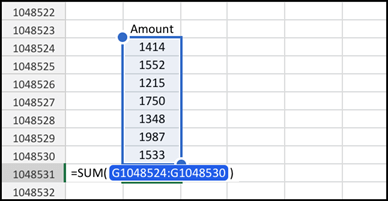
If you see, there are other options as well, like Average, Count Numbers, Max, and Min which you can use.
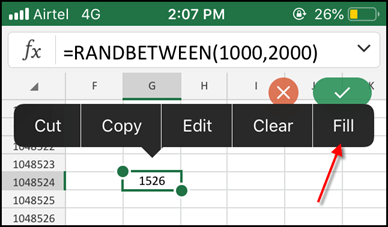
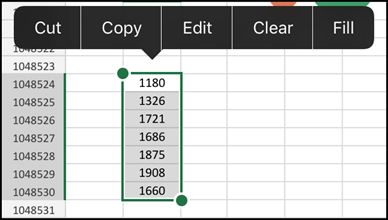
6. Switch Between Qwerty and Numeric Keyboards
f you are like me can’t work without “Numeric Keypad” and must have it in the mobile app as well.
Excel’s mobile app is loaded with it.
You can simply switch between the normal qwerty keyboard and numeric keyboard using the switch button.


In the mobile app, you have a simple way to sort & filter data.
All you need to do is go to the more button and open the “Sort & Filter Data” option by scrolling down.

Here you have the option to sort data in Ascending or descending order

...and for the applying filters, you can simply click on the “Show Filter Buttons”.
This one most useful options from all the tips we have here.
You can simply find and replace a value by using this option as we use in our desktop app.
To use the “Find & Replace” option all you need to do is go to more button…
…and scroll to the end in the “Home Tab” and open the “Find”.

The moment you open it you'll get a search bar at the top where you can type a value and find it.

To replace a value you can open the option from the gear icon from the left and select “Replace”.
There are also some advanced options which you can use here.
Yes, Excel’s mobile app has a status bar. The moment you select a range of cells…
…it appears on the top of the app’s screen with some basic calculations…

…like sum, average count, the numbers count, etc.
You can directly create a PDF version of your workbook.


Excel saves the pdf file at the same place where your original file is stored.
To use this option all you need to do is touch the more button from the bottom right of the app…
…and select the view tab and then…
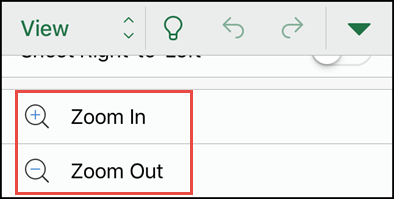
…scroll down a bit and there you have “Zoom In” and “Zoom Out”.
12. Yes, you Can Draw in Excel
For this, select the “Draw tab” from the drop-down and there you have the option to draw.

This option gives you multiple options to draw, you can change color + you have other options.
13. Directly Add Pictures from Your Camera
If you want to click a picture using your camera and want to add it to your Excel worksheet.
You have a simple option for this.
All you need to do is, go to “Insert Tab” and select the camera option which opens the camera of your phone…

…and you can click and insert it into the worksheet.
+ when you insert a picture you have the same options to customize it as you do in Excel’s desktop app like adding borders.
You just need to select the cell where you want to add it and go to the review tab.
And from the “Review Tab”, select the comment to add a new comment.

Every cell where you have a comment will have a red color indicator at the top right edge.

Sending a workbook in an email is pretty simple from your smartphone Excel app.
All you need to click on “More Button” from the top left…
…and after that select “Send the Copy”.

Select the format to send and the app to use for sending the email.
Excel’s mobile app is quite smart when it comes to adding hyperlinks.
You can add a link to the cell in the existing workbook or worksheet’s cell or to a web address.
All you need to do is…
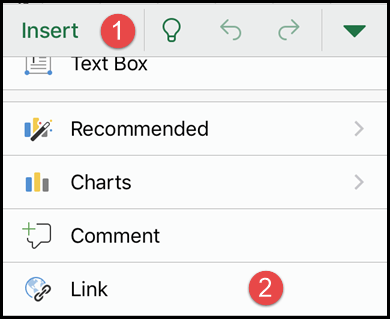
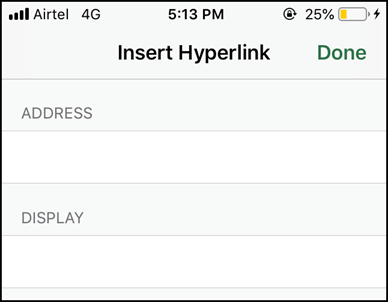
To add a link another worksheet you need to enter the name of the worksheet before the cell address.
For this, you need to open print setting from the more button à ‘Print“…

…and after that select the “Air Print” if you are using iPhone.
Next, you need to specify the settings for the printing.
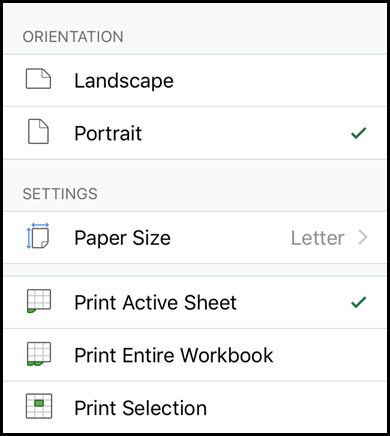
Click “Next” to get a print.
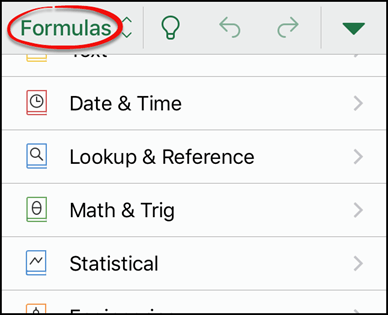
In the "Formula Tab", you can find all the function you need.
Before you rename a worksheet you need to activate the worksheet tab…
…and for this, touch the worksheet button from the bottom left of the screen and…

…double touch the tab to edit the name and then you rename it.

20. Create a Chart in Single Touch
In the “Insert Tab”, there are all the charts as you have in the Excel’s desktop app.
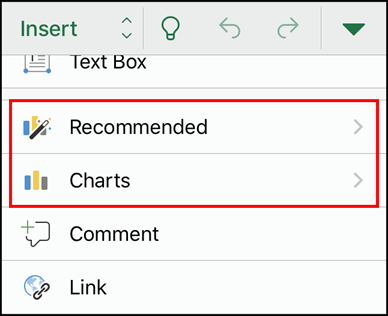
Make sure select the data before you insert a chart.
21. How to use Paste Special Option
To use this option all you need to do is to copy a cell and go to the cell where you need to paste the value.
Make sure before you paste just select the cell and hold your touch…
…and you’ll get options, click of the right arrow to go to paste special options.

You have four ways to paste values in “Paste Special”…
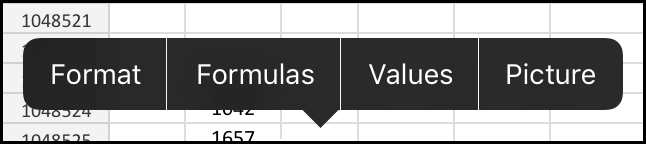
…select one of those.
Undo and Redo buttons are simply there for you. Just open the options from the more button from the bottom right of the screen…

…there are your both of the buttons.

23. Apply/Change Number Formatting
Select a cell or a range…
…open the ribbon from the more button at the bottom of the screen and scroll down in the “Home Tab”.
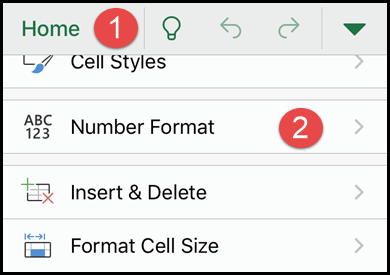
Select the “Number Format” and there you all the format which you can apply to the cell or range.
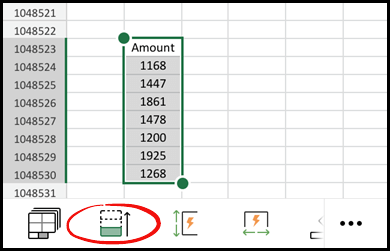
24. Select up to the Last Cell
Select the first cell of the data and touch the button  from the bottom menu.
25. Hide/Un-Hide Columns and Rows
You can hide multiple rows or columns by selecting all of them.
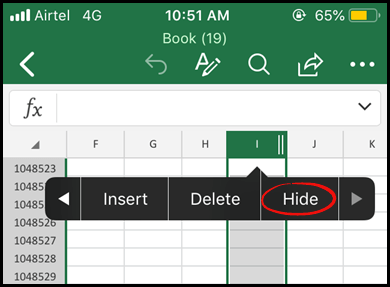
To un-hide a column all you need to do is select the rows or columns around the hidden column or row…
…and select the unhide option.
From: Puneet Gogia | Excel Champ (https://excelchamps.com/blog/mobile-app-android-ios-tips/)

12/11/2025


