
- Training
- Service
- Promotion
- Schedule
- Testing Center
- News
- Contact
8/3/2020


Install and set up
Start OneDrive Setup
If you have no accounts signed into OneDrive
If you don’t currently have an account signed in to OneDrive, use these instructions to start OneDrive.
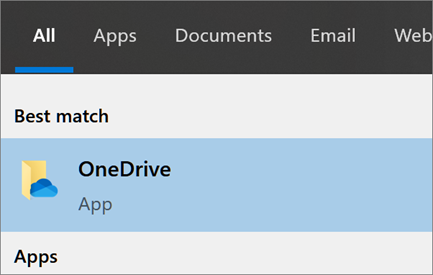
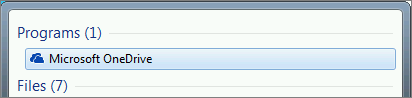
If you already have an account signed in to OneDrive
If you already have an account signed in to OneDrive and you want to add another account, you’ll do that in OneDrive Settings.

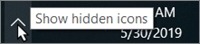
(You might need to click the Show hidden icons arrow  next to the notification area to see the OneDrive icon. If the icon doesn't appear in the notification area, OneDrive might not be running. Click Start, type OneDrive in the search box, and then click OneDrive in the search results.)
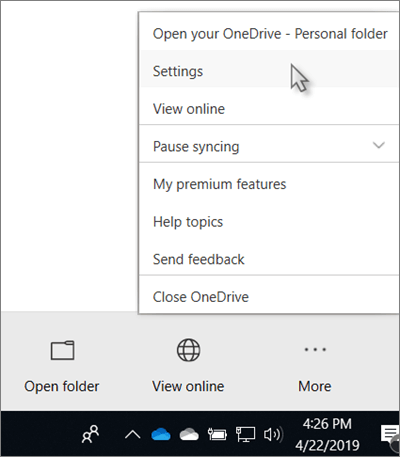
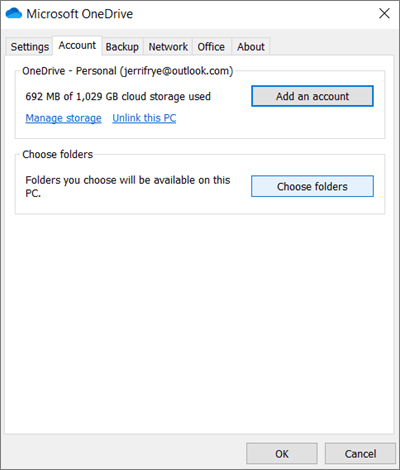
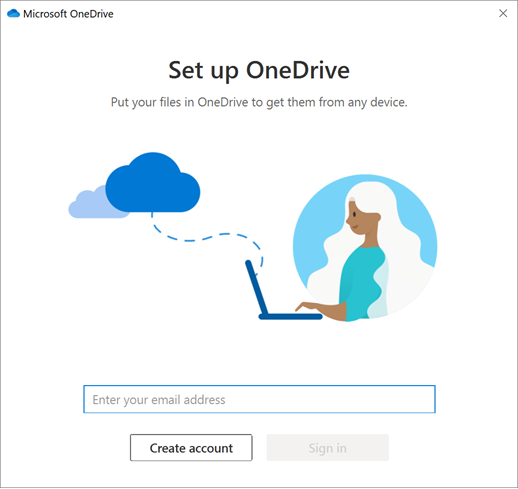
When OneDrive Setup starts, enter your new account, and then select Sign in.
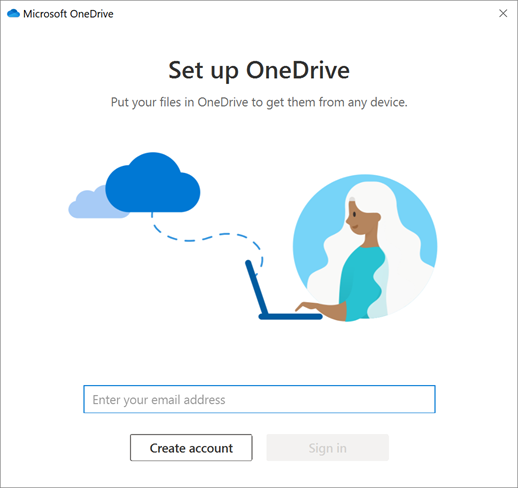
Note: While you can sync multiple OneDrive for work or school accounts, you can only sync one personal OneDrive account.
Key points in OneDrive Setup
There are two screens in OneDrive Setup that are helpful to watch for:
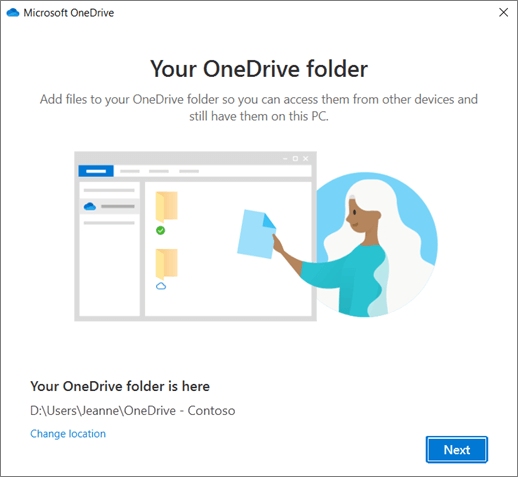
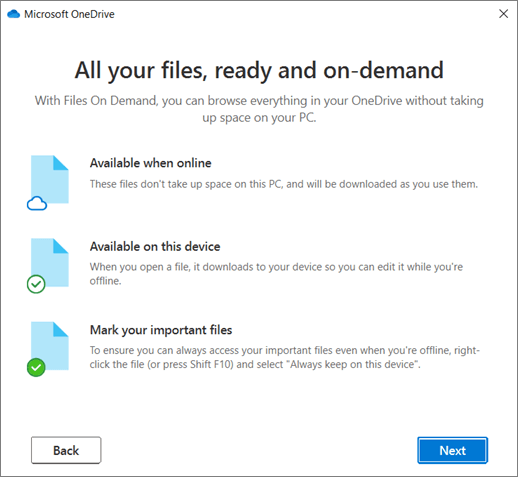
Note: If you were already syncing OneDrive for work or school to your computer (using the previous sync app) and you've just installed the sync app, you won't see the This is your OneDrive folder or the Sync files from your OneDrive screen during OneDrive Setup. The sync app automatically takes over syncing in the same folder location you were using before. To choose which folders you're syncing, right-click the blue cloud icon in the taskbar notification area, and select Settings > Account > Choose folders.
See and manage your OneDrive files
You're all set. Your OneDrive files will appear in File Explorer in the OneDrive folder. If you use more than one account, your personal files appear under OneDrive – Personal and your work or school files appear under OneDrive - CompanyName.
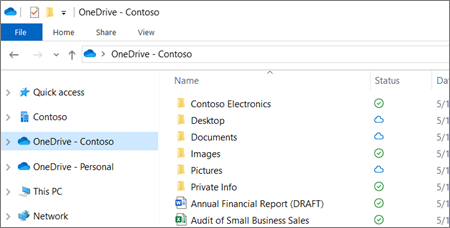
You now have a new white or blue cloud icon (or both) in your notification area and your files are synced to your computer. Your blue cloud icon will appear as OneDrive – [YourTenantName] when you hover over the icon.
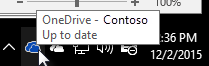
Note: Contoso is an example name - yours will show the name of your organization.
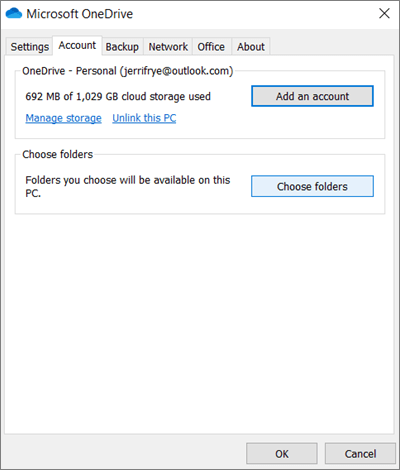
Any time you want to change the folders you sync on your computer, right-click that cloud icon in the taskbar notification area, and select Settings > Account > Choose folders. Find other information about your account and change other OneDrive settings from here.

12/11/2025


