
- Training
- Service
- Promotion
- Schedule
- Testing Center
- News
- Contact
10/20/2021


Excel just fixed an issue that has been an annoyance to users for more than 35 years! They've just rolled out Smooth Scrolling.
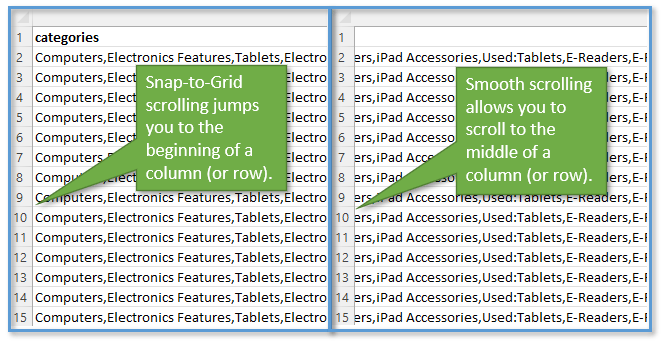
Up until now, when you would scroll either vertically or horizontally, the scrolling would have a snap-to-grid behavior. That means it would always jump to the beginning of a column or row.
Let's say you had a column that was extremely wide—wider than the width of your screen. If you were to use the scroll bar at the bottom of the page to move right, you wouldn't see the scrolling on your screen as you moved along the scroll bar. Instead, there is a screentip telling you where the grid will snap to when you release your mouse.
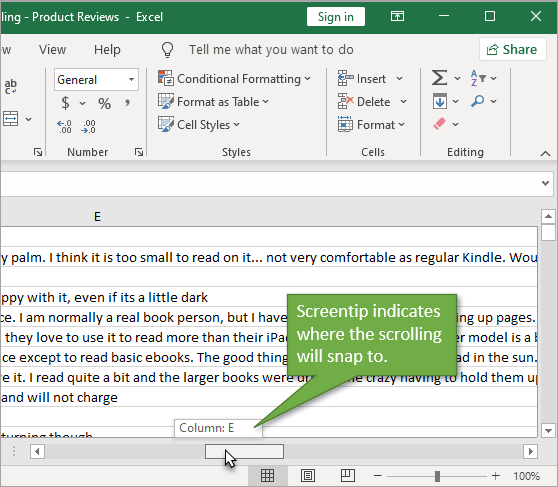
But with Smooth Scrolling, you can now scroll to any portion of the large column (or row) and the screen will move as you scroll. Then it will remain there when you stop scrolling.
You might be thinking, “Why is this important? Does it really matter?”
It may be a small change, but it alleviates a good amount of frustration. For example, there are times when you might want to compare information in adjacent columns or rows but you simply aren't able to view both of them at the same time because of their size. Excel will snap you to a place you don't want to be because of the layout of the grid.
But with Smooth Scrolling, you can drag along the scrollbar with your mouse to exactly what you want to see, and when you take you finger off the mouse button, the screen will remain right where you want it.
Another annoyance that Smooth Scrolling resolves is in regard to resizing. If a column is larger than my screen width and I want to reduce the size by dragging the right side of the header to the left, I can't even see the right side of the column when the scrolling snaps me to the left side.
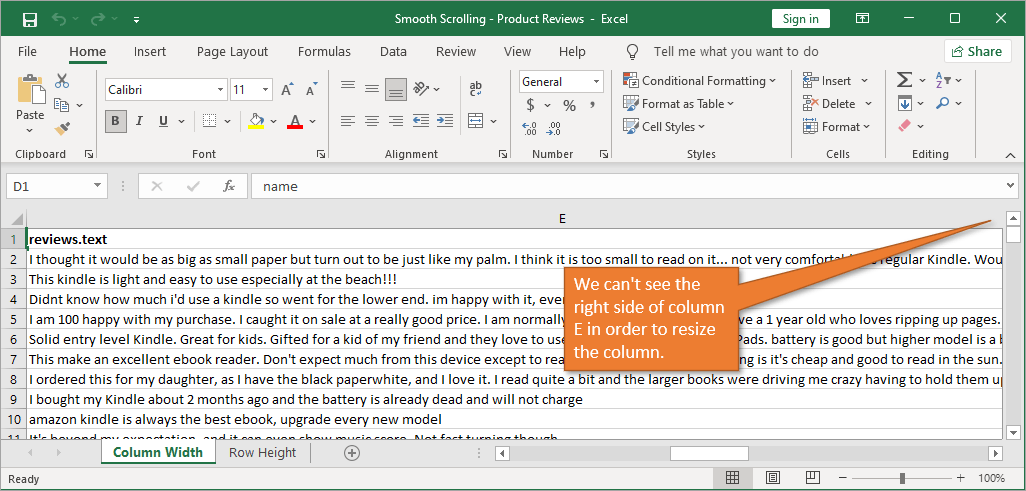
With Smooth Scrolling, that's not an issue anymore.
Smooth Scrolling is currently only available on the Beta channel for Microsoft 365, and will be released to additional channels in the future. So if you are working an older version of Excel, there are a couple of ways to resize your large columns or rows so that they are more manageable to work with.
It can be frustrating to not necessarily be able to see the portion of the column that you want to see. It's even more frustrating on smaller monitors or in smaller windows. The best way to deal with this is to resize the column width (or row height if you are dealing with a row that is too tall).
If you right-click on the column header, you will get a menu where you can select Column Width.
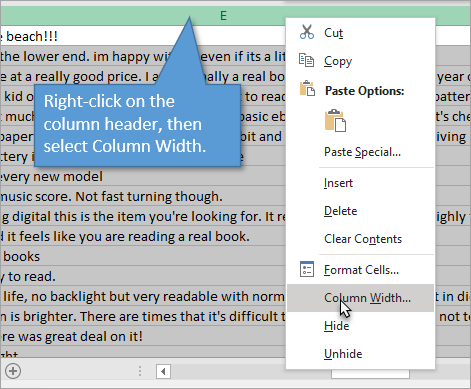
This brings up the Column Width window with the current size of the column. You can adjust that number to something smaller. That will resize your column so that the right edge is now visible on your screen.
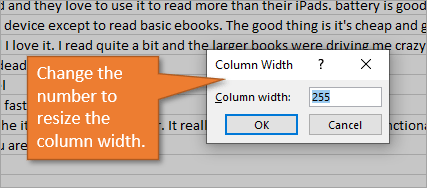
Trivia Fact: 255 is the maximum cell width in Excel.
Another option is to use the zoom feature. To zoom in and out, you can hold down the Ctrl key and scroll on your mouse. Or, you can use the zoom controls, found in the bottom-right corner of Excel.
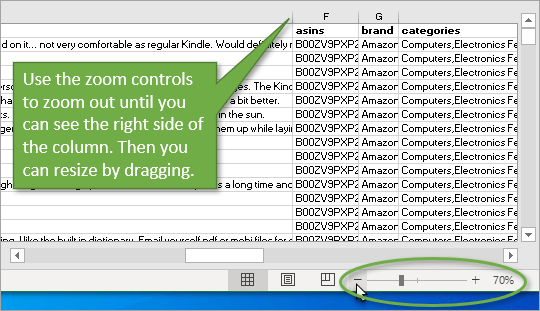
Once you have zoomed out enough, you can resize the column like you normally would, and then you can zoom back in.
Either of these options to resize column widths would also apply to adjusting row heights as well.
You can also press and release the scroll button on your mouse to create smooth scrolling to the right and left.
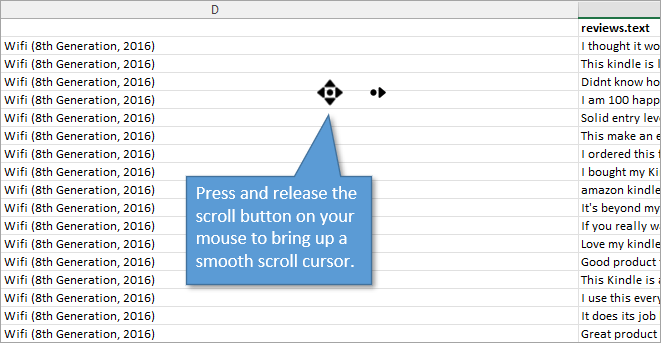
The issue is that when you click the button again, it snaps back to the grid. This is not a method I use very often, but I wanted to make mention of it.
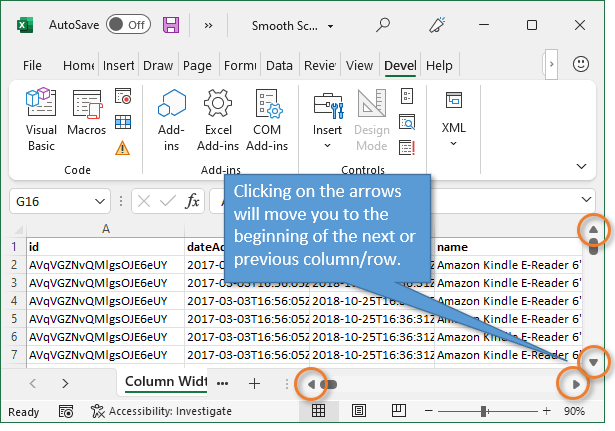
The snap-to-grid behavior does still exist in the new version of Excel. You just have to use the arrow buttons instead of dragging the scroll bar.
 .
.
Source: www.excelcampus.com

12/11/2025


